 Save
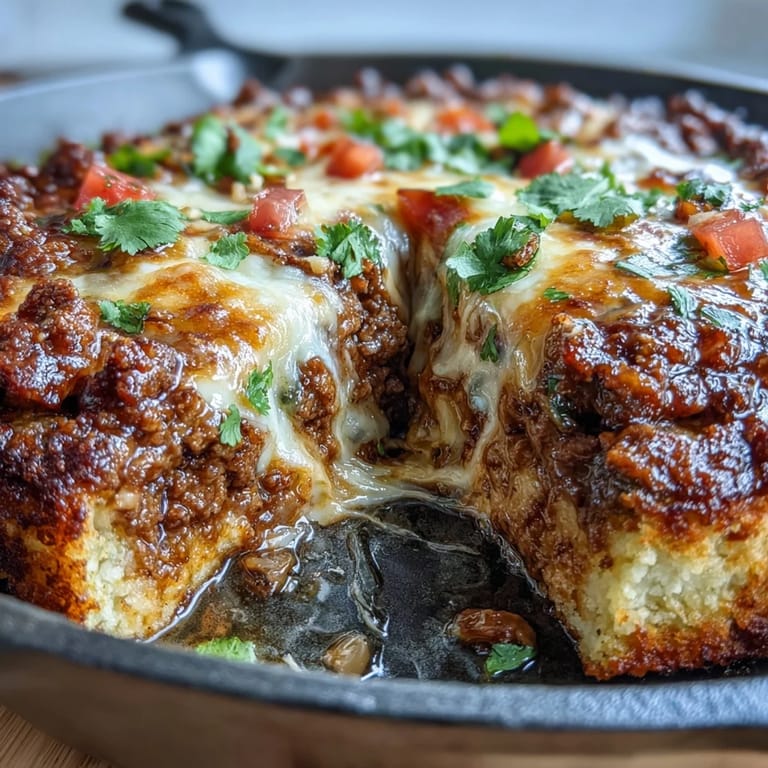
Save Last Tuesday, I was staring at a head of cauliflower wondering if I'd finally cracked the code on making a crust that didn't taste like disappointment. My partner had just started keto, and I was tired of the usual lettuce wraps and spiralized vegetables. Then it hit me—what if I treated cauliflower like pizza dough but filled it with taco meat instead? Forty minutes later, we were both reaching for seconds, and I realized I'd accidentally created something that tastes indulgent while keeping us firmly in carb-conscious territory.
My sister was skeptical when I invited her for dinner, especially when she saw me ricing cauliflower in the food processor. But the moment that golden crust came out of the oven and we layered on the seasoned beef, something shifted. She took one bite and just looked at me like I'd discovered fire. Now it's the only thing she asks for when she visits, which is funny considering she's not even on keto.
Ingredients
- Cauliflower florets (1 medium head, about 600 g): This is your foundation—the fresher your cauliflower, the better your crust will bind. Buy it the same day you cook, and don't skip the microwave step; it releases moisture that you absolutely have to squeeze out in the towel.
- Large egg: The binder that holds everything together, so use room temperature if you can remember it.
- Shredded mozzarella cheese (1 cup / 100 g): Low moisture mozzarella works best here because it doesn't weep or make your crust soggy.
- Grated Parmesan cheese (1/4 cup / 25 g): This adds a salty, nutty depth that plain mozzarella can't achieve alone.
- Garlic powder, salt, and black pepper for the crust: These are your backstage helpers—they make the crust taste like something intentional, not just mushed vegetables.
- Ground beef (1 lb / 450 g, 80/20 blend): The 80/20 ratio keeps the meat flavorful and tender; lean beef can taste stringy if you're not careful.
- Onion and garlic: Finely chopped onion softens into sweetness while garlic brings warmth and complexity to the seasoning.
- Tomato paste (2 tbsp): A small amount concentrates the flavor and adds depth without making the skillet watery.
- Chili powder, ground cumin, and smoked paprika: These spices are the personality of this dish; don't skimp on them or use stale bottles from the back of your cabinet.
- Water (1/3 cup / 80 ml): This creates just enough sauce to keep the filling moist without pooling at the edges.
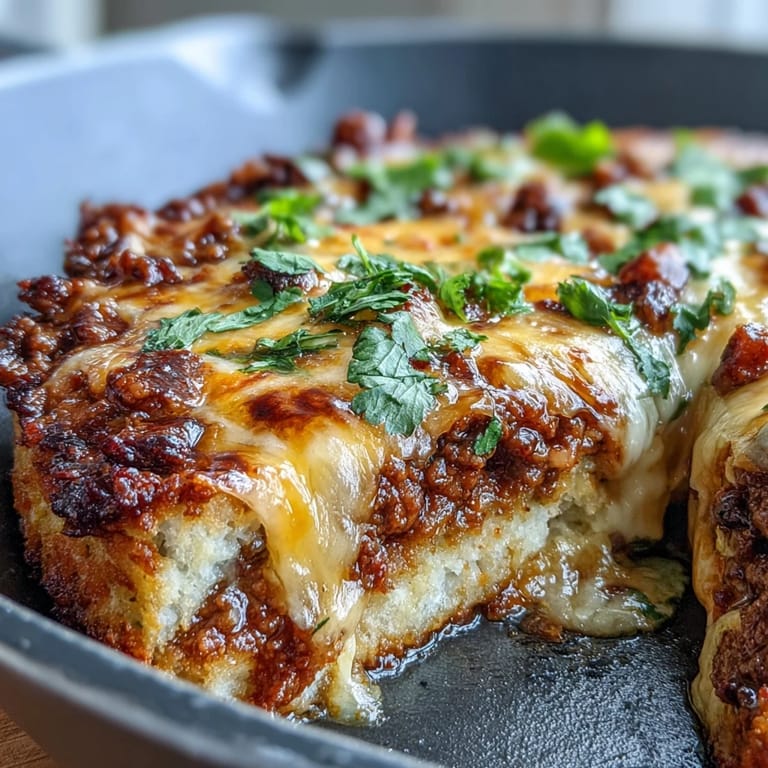
- Shredded cheddar cheese (1 cup / 100 g): The final layer that melts into those little pockets and corners, creating those irresistible stretchy bits.
- Black olives, diced tomato, and fresh cilantro: These fresh toppings cut through the richness and remind you that vegetables are friends, not just fillers.
- Sour cream (optional): A cool dollop at the end acts like a reset button for your palate between bites.
Tired of Takeout? 🥡
Get 10 meals you can make faster than delivery arrives. Seriously.
One email. No spam. Unsubscribe anytime.
Instructions
- Fire up the oven and prep your workspace:
- Set your oven to 425°F (220°C) and make sure you have your largest oven-proof skillet ready. You'll be using it twice, so clear some counter space nearby.
- Rice the cauliflower like your life depends on it:
- Cut your cauliflower into florets and pulse them in the food processor until they look like grains of rice—not powder, not chunks. Transfer to a microwave-safe bowl and zap for 5 minutes until the cauliflower softens and releases its moisture.
- Squeeze out every last drop of water:
- This is where most people fail because they're impatient, but trust me—spread your cooked cauliflower on a clean kitchen towel and really wring it out like you're mad at it. The drier your crust base, the crispier and more structural your final dish will be.
- Mix the crust base with your hands:
- Combine the drained cauliflower with egg, mozzarella, Parmesan, garlic powder, salt, and pepper in a large bowl. Use your hands to mix it until it feels like a cohesive dough that holds together when you squeeze it.
- Press and bake the crust:
- Spread your cauliflower mixture evenly across the bottom of your skillet using wet fingers (the moisture helps prevent sticking). Bake for 15 minutes until the edges are golden and the top feels set when you touch it.
- Brown the ground beef in a separate skillet:
- While the crust bakes, heat a nonstick skillet over medium-high heat and add your ground beef. Break it into small pieces with a wooden spoon and cook for 5 to 6 minutes until it's no longer pink. Drain any excess fat if there's more than a tablespoon pooling at the bottom.
- Build the taco flavor base:
- Add your finely chopped onion to the beef and let it soften for 2 to 3 minutes, then stir in minced garlic and cook for about 30 seconds until fragrant. Add tomato paste, chili powder, cumin, smoked paprika, salt, and pepper, stirring constantly for 1 minute to bloom the spices.
- Add water and let everything marry together:
- Pour in your water and simmer for 2 to 3 minutes until the mixture thickens slightly and tastes cohesive rather than like separate ingredients.
- Assemble the skillet:
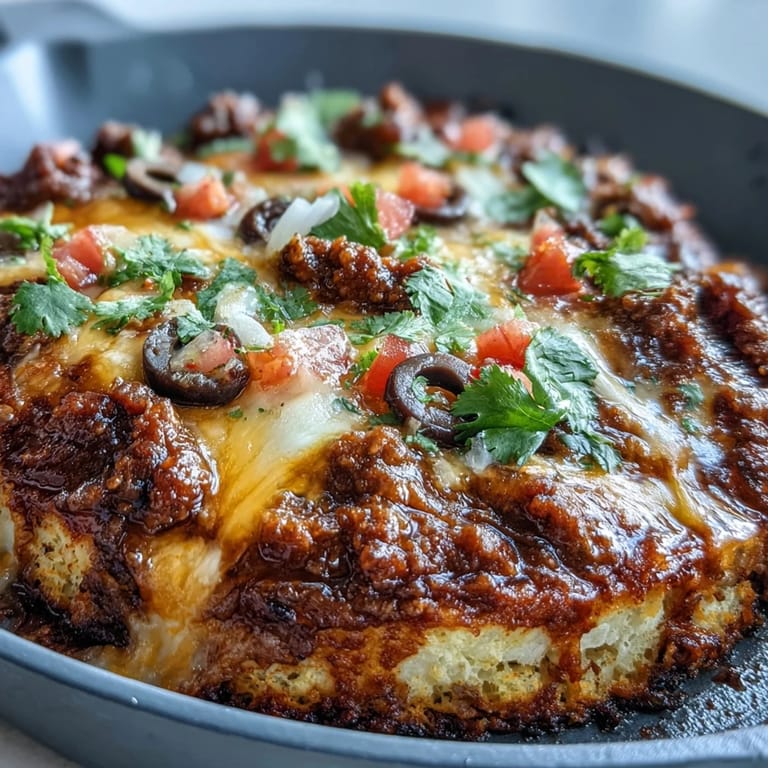
- Remove the golden crust from the oven and spoon your taco meat evenly across the top. Scatter cheddar cheese and olives (if using) over the meat in a way that feels generous.
- Final melt and finish:
- Return the skillet to the oven for 5 minutes, just until the cheddar bubbles and starts to brown at the edges. Remove from heat, top with diced tomato and fresh cilantro, and serve with sour cream on the side if you want that cool contrast.
 Save
Save There's a moment right when you pull this out of the oven the second time, and the cheese is still bubbling at the edges while the cauliflower underneath has turned this deep golden brown, where you realize you've made something that's equal parts practical and genuinely delicious. That's when people stop questioning why you're eating vegetables and start asking for the recipe.
Why This Works Better Than Just Tacos
Traditional tacos or taco bowls leave you reaching for more carbs because something feels incomplete without the wrap or the tortilla foundation. This skillet gives you that structural satisfaction—a base that holds everything together—without the blood sugar spike. The cauliflower crust is sturdy enough to support the toppings and rich enough to not feel like a vehicle for other people's food. It stands on its own as a complete, cohesive dish.
Customizing Without Losing the Plot
The beauty of this skillet is that it tolerates substitutions better than most low-carb recipes. Ground turkey or chicken works if you want something lighter, though you might need to add an extra tablespoon of fat since they're leaner. Jalapeños scattered into the meat filling add a heat that builds as you eat, while avocado slices added after baking provide creaminess without cooking into mush. I've even thrown in shredded lettuce at the very end for people who want something crisp, and it actually makes sense texture-wise rather than feeling like an afterthought.
The Timing and Make-Ahead Reality
You can prep the cauliflower crust mixture up to 4 hours ahead and keep it covered in the fridge, which means when you get home from work, you're really just pressing it into the skillet and letting the oven do the heavy lifting. The taco meat comes together in minutes, and honestly, reheated taco meat often tastes better the next day because the spices have time to settle and deepen. The only thing you shouldn't make ahead is the fresh topping of tomato and cilantro, because they lose their brightness when they sit in the fridge.
- Make the crust base earlier in the day if your evening schedule is chaos and you want to feel ahead of the game.
- Brown the beef while the crust is baking to save time and dirty fewer dishes overall.
- Top with fresh ingredients only right before serving to keep everything tasting vibrant and alive.
 Save
Save Making this skillet has taught me that low-carb cooking doesn't have to taste austere or feel like punishment. When you start with good ingredients and respect the technique, something genuinely craveable emerges on the other side.
Recipe Questions & Answers
- → How do I prepare the cauliflower crust?
Pulse cauliflower florets until finely riced, microwave to soften, then squeeze out excess moisture before mixing with egg and cheeses to form the crust.
- → Can I substitute beef with other proteins?
Yes, ground turkey or chicken can be used instead of beef without altering the dish's texture significantly.
- → What spices enhance the taco filling?
Chili powder, ground cumin, smoked paprika, garlic, and tomato paste create a rich, layered flavor profile in the filling.
- → Is this dish suitable for gluten-free diets?
Yes, all ingredients used are naturally gluten-free, but check cheese and sour cream labels for additives if sensitive.
- → How can I add extra freshness to the dish?
After baking, top with avocado slices, shredded lettuce, or additional fresh cilantro for a bright finish.