 Save
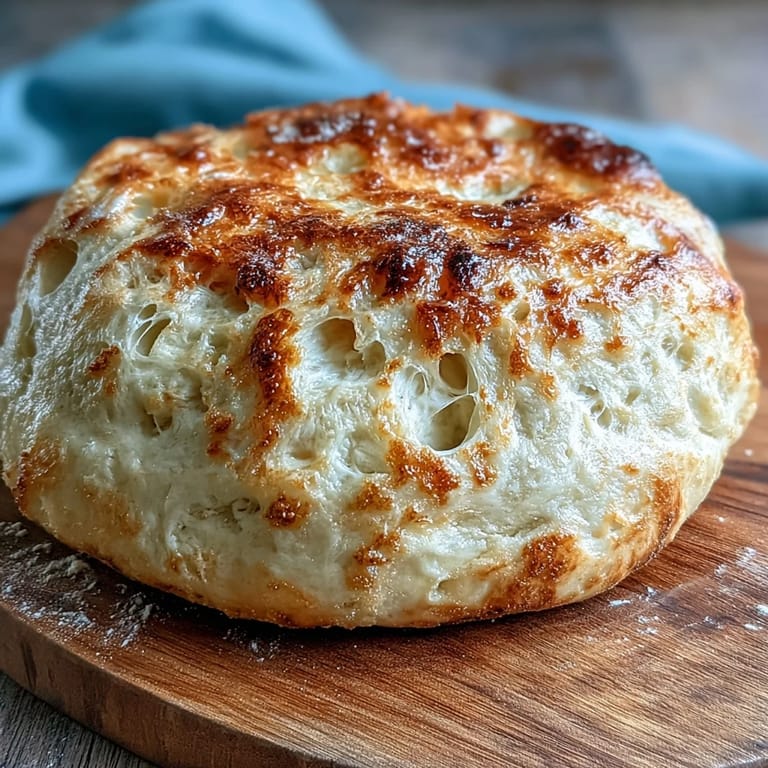
Save There's something almost magical about watching sourdough starter bubble to life and transform simple flour and water into pizza dough that tastes like it came from a Neapolitan wood-fired oven. My first successful batch happened on a lazy Sunday when I decided to stop buying frozen dough and actually commit to the long, patient process—and honestly, the smell of that dough rising on my kitchen counter all afternoon made every minute of waiting worth it. What surprised me most was how the natural fermentation created this complex, tangy flavor that store-bought dough could never match, and how the crust somehow managed to be both crispy and chewy at the same time.
I'll never forget the first time I pulled a pie out of my oven after making this dough from scratch—my partner stood there with a slice cooling in his hands, just staring at it like he couldn't believe it came from our kitchen. He took one bite and didn't say anything for a solid thirty seconds, which honestly told me everything I needed to know. That moment shifted how we think about pizza night, turning it from grabbing takeout into this little ritual we actually looked forward to.
Ingredients
- Bread flour: The higher protein content builds structure and gives you that beautiful chew; if you only have all-purpose flour on hand, it'll work but your crust will be a touch softer.
- Water at room temperature: Cold water can shock your starter and slow fermentation, so I learned to pull it out of the tap and let it sit while I gather my other ingredients.
- Active sourdough starter: This is non-negotiable—use starter that's bubbly and visibly alive, ideally fed 4-8 hours before mixing, or your dough will be sluggish and dense.
- Fine sea salt: Don't skip this or use table salt; it seasons the dough and strengthens the gluten network, creating that perfect tender-but-structural crumb.
- Olive oil: Optional, but those few tablespoons make the dough softer and more forgiving if you're still learning to stretch it thin.
Tired of Takeout? 🥡
Get 10 meals you can make faster than delivery arrives. Seriously.
One email. No spam. Unsubscribe anytime.
Instructions
- Combine flour and water (the autolyse):
- Mix them together until there are no dry flour pockets, then walk away and cover the bowl. That 30-minute rest lets the flour fully hydrate and relaxes the gluten, making your eventual kneading so much easier.
- Introduce the starter and salt:
- Stir in your active starter and salt until everything comes together into a shaggy, sticky dough. If using oil, add it now—it'll feel slippery at first, but trust the process.
- Build strength through kneading or folding:
- If you have a stand mixer, run it on low-medium for 5-7 minutes until the dough becomes smooth and pulls away from the bowl. If you're doing this by hand, use the stretch-and-fold method: every 30 minutes for 2 hours, wet your hand, grab one side of the dough, stretch it up and fold it over itself, rotate the bowl 90 degrees, and repeat four times total—it's oddly meditative and you'll feel the dough strengthen under your hands.
- Let it rise slowly at room temperature:
- Cover the bowl loosely and watch for that magic moment when the dough roughly doubles in size and looks bubbly on top—this usually takes 6-8 hours depending on how warm your kitchen is. I like to leave it on the counter during the day so I can peek at it and feel genuinely excited watching it happen.
- Divide and shape into balls:
- Turn the dough onto a lightly floured surface and cut it in half with a bench scraper, then gently shape each piece into a tight ball by pulling the surface toward the bottom—this creates surface tension that helps it rise evenly during the next rest. Avoid deflating all those precious bubbles you just developed.
- Rest the shaped dough:
- Let your dough balls rest on a tray covered with a kitchen towel for 1-2 hours at room temperature if you're baking today, or slide them into the fridge for up to 24 hours (even 48 is fine) for more flavor development and easier stretching. Cold dough is also more forgiving when you're learning to shape.
- Heat your oven and stone:
- Crank your oven as hot as it will go—ideally 475-500°F (250-260°C)—and let your pizza stone or steel sit in there for at least 30 minutes so it's truly screaming hot. A cold stone will steam your dough instead of crisping it, which is the opposite of what we want.
- Stretch and top:
- Take one dough ball and gently stretch it into a rough 12-inch circle, either by hand or with a rolling pin, working from the center outward. Top it simply or go wild—just remember that less is more when you're still learning, as too many toppings weigh it down and prevent that puffy, crispy crust you're after.
- Bake until golden:
- Transfer your pizza to the hot stone using a pizza peel (or carefully slide it off a piece of parchment) and bake for 10-15 minutes until the edges are golden brown and puffy and the bottom is crisp and spotted with slight char. The bottom should sound hollow when you tap it.
 Save
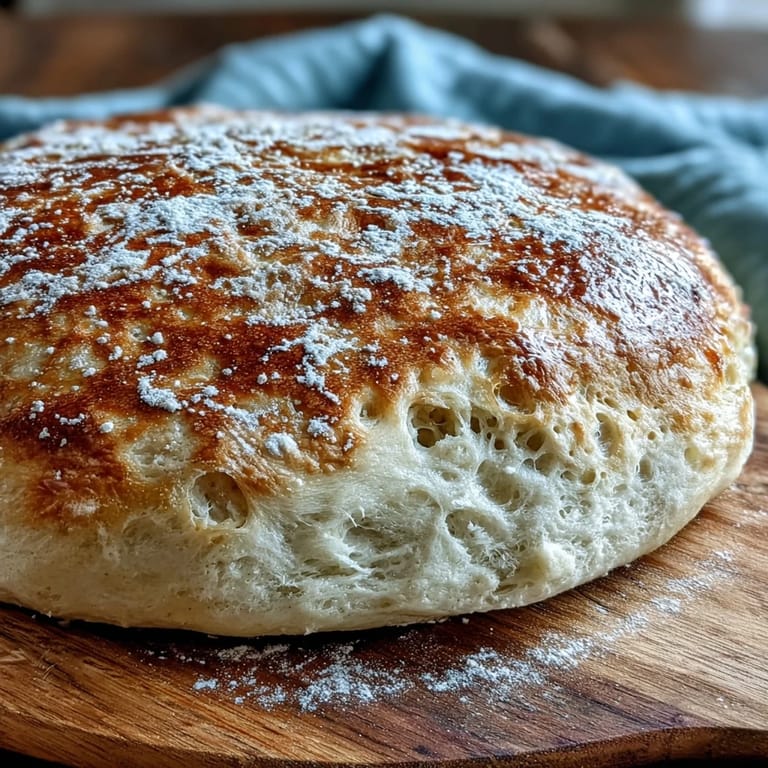
Save There was a Wednesday evening when I made this dough the night before, and by the next evening when I stretched and baked it, my whole apartment smelled like a proper Italian bakery—and that's when I realized this recipe had become less about following instructions and more about understanding what living dough needs. It's a small thing, but that shift from recipe-following to intuition-building is what makes this worth the time investment.
Why Sourdough Fermentation Changes Everything
Standard commercial yeast works fast and predictably, but sourdough starter is this living, breathing culture that builds flavor through time—the longer you let it work, the more complex and sour the taste becomes. I've found that the difference between an 8-hour ferment and a 24-hour cold ferment is noticeable enough that I now plan pizza night around the fridge schedule, knowing that patience genuinely improves the final result. The wild yeasts and bacteria in your starter also create organic acids that make the dough easier to digest and give your crust that signature hole structure.
Tools That Actually Matter
A kitchen scale changed my sourdough game more than any fancy equipment—measuring by weight instead of cups meant my ratios stayed consistent, which removed one major variable from the equation. The pizza stone or steel is genuinely essential; baking on a regular baking sheet will give you a softer, more bread-like crust instead of that crispy pizzeria texture you're after. A dough scraper (even just a sturdy plastic bench knife from the dollar store) makes shaping so much easier and keeps the dough from sticking to your hands and surface.
Flavor Building and Customization
Once you have the foundational dough down, the fun begins—this base is neutral enough to pair with anything from simple margherita (just sauce, fresh mozzarella, basil, and good olive oil) to more creative combinations. I've learned that toppings cooked halfway through (like fresh basil or prosciutto added in the last few minutes) stay fresher tasting than things baked the whole time. The dough itself is so flavorful from the sourdough fermentation that honestly, sometimes the best pizza is just this crust with salt, a drizzle of olive oil, and maybe some fresh herbs.
- Let toppings come to room temperature before adding them so you don't cool down your stone and slow the bake.
- A light brush of olive oil on the crust edge before baking makes it extra golden and crispy.
- Save your pizza peel for last-minute transfers—dough is sticky after a long rest, and parchment paper underneath makes everything easier until you get confident with the technique.
 Save
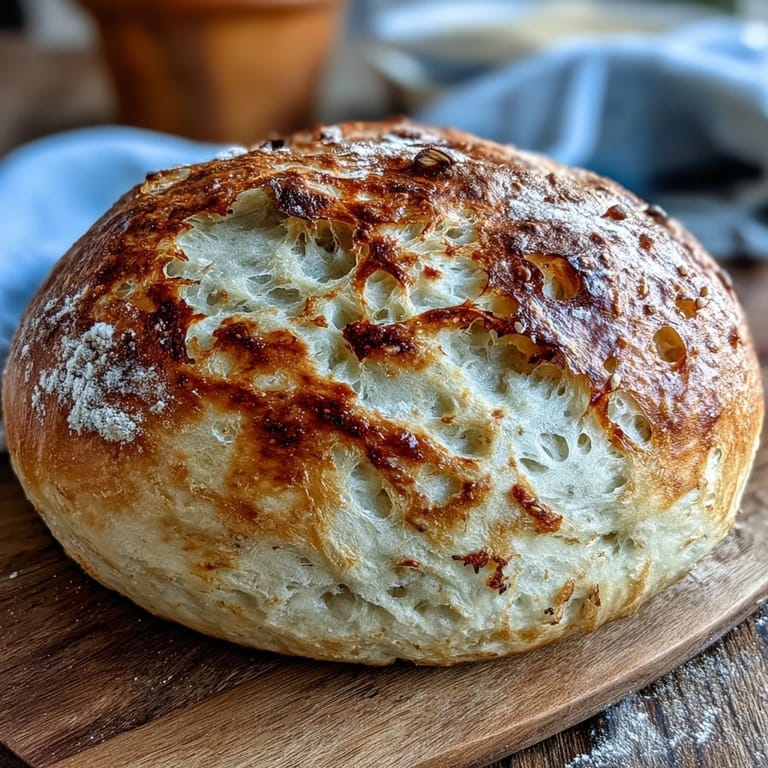
Save Making sourdough pizza dough taught me that some of the best things in the kitchen happen when you stop rushing and let time do the work for you. This dough tastes like it took effort, but really, most of that effort is just patience—which might be the easiest ingredient of all once you accept that good food doesn't hurry.
Recipe Questions & Answers
- → How long should I let the dough rise?
Let the dough rise at room temperature for 6 to 8 hours or until it doubles in size and becomes bubbly to develop flavors.
- → Can I ferment the dough in the refrigerator?
Yes, resting the dough in the fridge for up to 24 hours (cold fermentation) deepens flavor and improves texture.
- → What type of flour is best for this dough?
Bread flour is preferred for its gluten content, but all-purpose flour can be used for a softer crust.
- → How do I achieve a crispy crust?
Baking on a preheated pizza stone or steel at high temperatures (475–500°F) helps create a golden, crisp crust.
- → Is olive oil necessary in the dough?
Olive oil is optional and can soften the dough, contributing to a tender texture.
- → Can I use sourdough starter from the refrigerator?
It's best to use an active, bubbly starter at room temperature for optimal fermentation and rise.