 Save
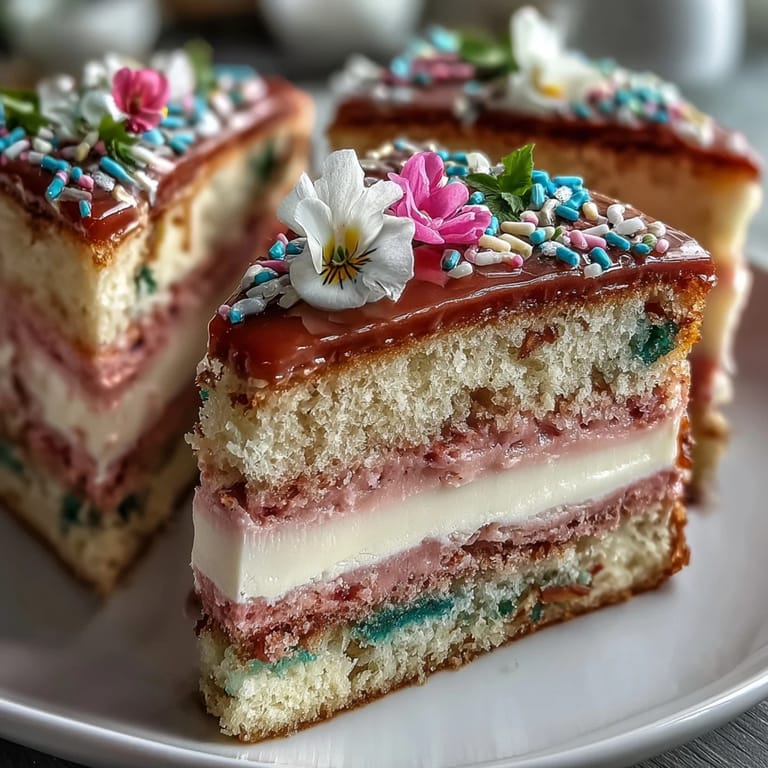
Save My sister called me three days before her garden brunch asking if I could make something that looked as good as it tasted. She wanted spring, she wanted celebration, she wanted something that would make people actually gasp when they saw it. That's when I thought of building a cake that shifted from soft yellow at the bottom to blushing pink at the top, like watching a sunset in pastel. What started as a nervous experiment became the cake I've made a dozen times since, each time feeling a little more like second nature.
I'll never forget spreading that first layer of yellow buttercream and realizing this cake was actually going to work. My hands were shaking a little because I'd talked it up so much, but once I started blending the colors on the sides with my offset spatula, something clicked. By the time I added the pink buttercream on top and smoothed everything into that soft gradient, I wasn't nervous anymore. I was just standing in my kitchen amazed at what three bowls of batter and some patience had created.
Ingredients
- All-purpose flour: Three cups gives you structure without being heavy, and sifting it together with the baking powder and salt ensures everything distributes evenly so you won't bite into a spot that tastes slightly off.
- Unsalted butter: Room temperature is non-negotiable here because cold butter won't cream properly with the sugar, and you'll end up with a denser, more compact cake instead of that tender crumb you're after.
- Granulated sugar: Two cups feeds the sweetness but also helps trap air when beaten with butter, creating all those tiny bubbles that make the cake light and fluffy.
- Eggs at room temperature: Cold eggs won't incorporate smoothly and will make your batter lumpy, so pull them out of the fridge about an hour before you start.
- Whole milk at room temperature: This creates a tender crumb and carries the vanilla flavor throughout, plus it alternates with the flour to keep the batter from becoming dense or overworked.
- Gel food coloring: Gel is your friend here because a tiny amount goes a long way, unlike liquid food coloring which can water down your batter and affect the texture.
- Powdered sugar for buttercream: Sifting it prevents lumps and makes the frosting smooth and spreadable, while the three colors let you build that gradient effect layer by layer.
Tired of Takeout? 🥡
Get 10 meals you can make faster than delivery arrives. Seriously.
One email. No spam. Unsubscribe anytime.
Instructions
- Set your stage:
- Preheat your oven to 350°F and grease those three cake pans thoroughly, then line them with parchment paper so your layers slip out without sticking. I learned the hard way that parchment paper on the bottom plus greased sides is the only way to guarantee your cake comes out clean.
- Build the dry foundation:
- Whisk your flour, baking powder, and salt together in a medium bowl, which takes just a minute but saves you from lumpy spots later. Set it aside and feel good about doing this step because it's what separates okay cakes from cakes that taste professionally made.
- Cream your butter and sugar:
- Beat them together on medium speed for about three to four minutes until the mixture goes pale and fluffy, almost like soft clouds. This is where the cake gets its tender structure, so don't rush it or skip it even if your arm gets tired.
- Add eggs one by one:
- Drop in each egg and let it fully mix in before adding the next one, which takes a bit longer but ensures they all get incorporated evenly. The vanilla extract goes in after the last egg, and you'll notice the mixture suddenly smells absolutely wonderful.
- Alternate wet and dry:
- Start with some of your flour mixture, then add some milk, then more flour, ending with flour so the batter stays thick enough to divide. Mix just until everything is combined because overmixing develops gluten and makes the cake tough instead of tender.
- Create your color story:
- Divide the batter into three bowls and drop just a tiny bit of gel food coloring into two of them, starting with barely a toothpick amount because you can always add more. I learned to start pale because the color deepens as you mix, and it's better to add another drop than to start over with a batch that's too bright.
- Fill and bake:
- Pour each colored batter into its prepared pan, smooth the tops gently, and pop them into the oven for 22 to 26 minutes until a toothpick comes out clean. You'll start smelling something amazing around the fifteen minute mark, and that's your signal to start thinking about the frosting.
- Cool with intention:
- Let the cakes rest in their pans for ten minutes so they set slightly, then turn them out onto wire racks and let them cool completely before frosting. Rushing this step leads to frosting melting into warm cake, so make a cup of tea and let them be.
- Make your buttercream:
- Beat room temperature butter until it's creamy, then gradually add your sifted powdered sugar along with vanilla, salt, and a splash of milk or cream, mixing until fluffy and spreadable. Divide this into three bowls and tint them to match your cake layers, making sure the colors are a bit darker than the cake so they pop against the lighter layers.
- Level and layer with care:
- If your cakes domed on top, use a serrated knife to level them so each layer sits flat against the next one. Place your yellow layer on your serving plate, spread it with yellow buttercream, then add your middle layer and frost it, then crown it with the pink layer and frost that too.
- Blend the gradient sides:
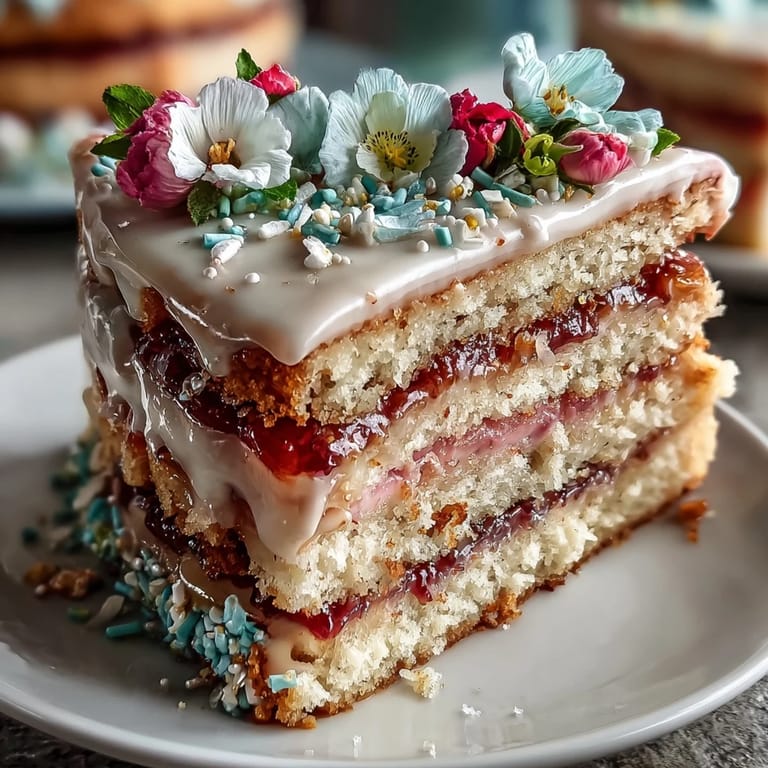
- Use your offset spatula or a cake scraper to apply frosting around the sides, starting with yellow at the bottom and gradually blending in the pink as you go up, creating that ombre effect. This takes gentle pressure and patience, but watching the colors blend is honestly the most satisfying part of the whole process.
- Add the finishing touch:
- Sprinkle pastel sprinkles on top or tuck edible flowers around the base if you want, then refrigerate for thirty minutes so the frosting sets. This chilling time makes slicing so much cleaner and lets all the flavors settle together.
 Save
Save That first slice at my sister's brunch was the moment I knew this cake had become more than just something pretty to look at. People were taking photos, yes, but more importantly they were closing their eyes while eating it, and that's when you know you've made something that lands on both counts.
Choosing Your Color Palette
The beauty of this recipe is that you're not locked into pink and yellow at all. I've made it with lavender and blush, with mint and coral, even with sage and cream for a more sophisticated vibe. The technique stays exactly the same, but the feeling changes completely depending on which colors you choose. Think about the season you're baking for or the mood you want to set, and let that guide your gel coloring choices.
Storing and Serving Strategies
This cake actually gets better as it sits because the flavors meld and the frosting firms up just enough to hold those beautiful layers without the cake itself drying out. I've kept it covered at room temperature for a day when the weather is cool, but honestly I prefer refrigerating it because the buttercream holds the structure better and tastes richer when it's cold. Just pull it out about thirty minutes before serving so it reaches that perfect texture where it's still cool but not so stiff that it's hard to bite through.
Beyond the Basic Cake
Once you've mastered the ombre on this cake, you can play with the frosting ratios, add a hint of almond extract for depth, or even make a buttermilk version for a slightly tangier crumb. Some people brush a light simple syrup between the layers if they're making it ahead because it keeps the cake incredibly moist. Think of this as your base template, and feel free to adjust once you understand how each component works together.
- Edible flowers and fresh berries look stunning on top and actually taste beautiful with the buttercream.
- A champagne or Moscato pairing takes this from nice dessert to elegant ending to a special meal.
- Make mini versions in cupcake tins if you want to practice the ombre technique on smaller canvases first.
 Save
Save This cake has become my go-to for celebrations because it's proof that you don't need any fancy equipment or professional training to make something beautiful and delicious. Bake it for someone you want to impress, and watch their face light up when they see that perfect gradient.
Recipe Questions & Answers
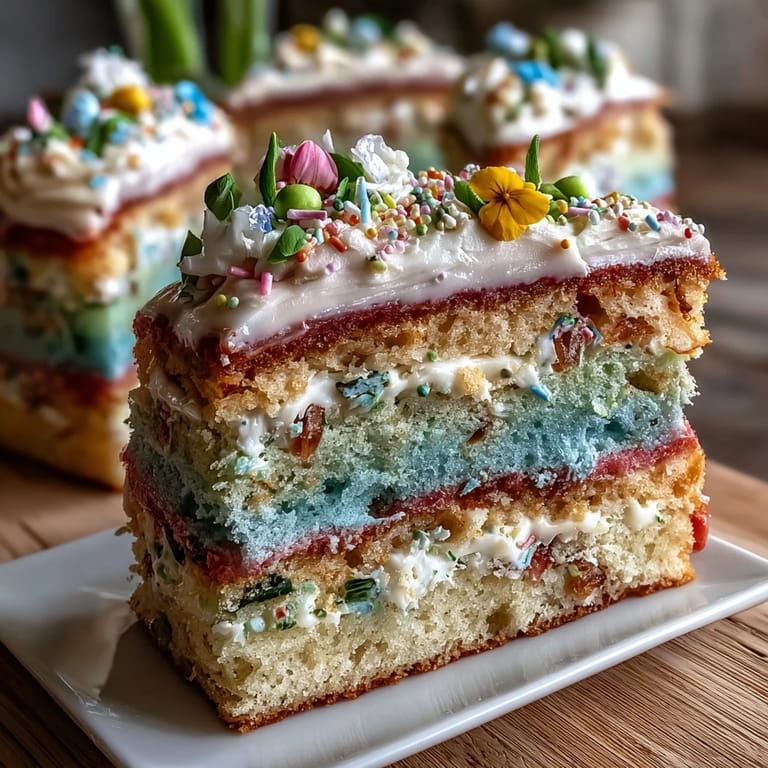
- → How do I achieve the pastel ombre effect?
Divide the batter into three portions, tinting each with pink, yellow, or leaving plain to create soft pastel shades. Layer each colored batter carefully before baking.
- → What is the best way to frost the cake smoothly?
Use an offset spatula and cake scraper to blend the tinted buttercream around the sides, gently transitioning from yellow at the base to pink at the top for a seamless gradient.
- → Can I make the cake tangier?
Substitute buttermilk for whole milk in the batter to add a nice tang and tender crumb texture.
- → How long should I chill the cake before slicing?
Chill the cake for about 30 minutes to firm the buttercream, ensuring cleaner and neater slices.
- → Are there any allergen considerations?
The cake contains wheat gluten, eggs, and dairy. Be sure to check labels on coloring and decorations for additional allergens.