 Save
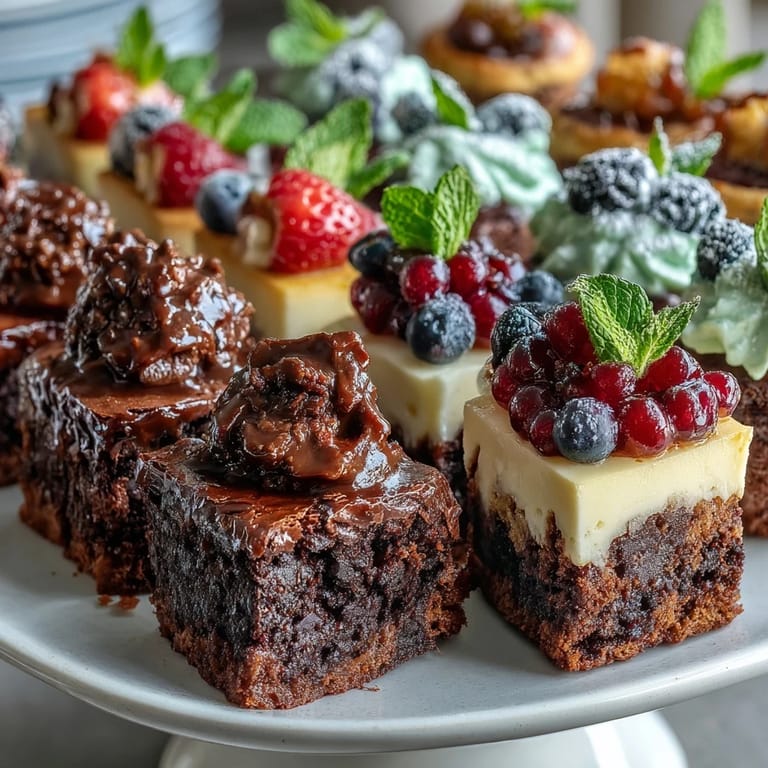
Save My friend texted me three days before her housewarming asking if I could bring something fancy but not fussy. I stood in my kitchen at midnight, suddenly inspired by the image of a dessert bar—not just one cake, but a whole universe of tiny, beautiful bites arranged on a tiered stand. That night became about discovering how much joy three simple desserts could bring when they sat together like edible jewels, each one different, each one ready to be plucked and savored without commitment.
Watching that housewarming unfold, I saw something unexpected happen—people lingered at the dessert bar longer than at any other part of the party. A couple kept debating whether they preferred the fudgy brownie or the creamy cheesecake. Someone's kid stacked three tartlets on a napkin like they were building something precious. That's when I understood: bite-sized desserts aren't just convenient, they're permission to be curious.
Ingredients
- Unsalted butter: Use quality butter—it's the foundation of both the brownie richness and the pastry's flakiness, and you'll taste the difference.
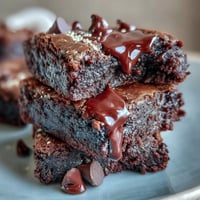
- Dark chocolate, chopped: Around 70% cocoa works beautifully; don't go too high or the brownies become bitter.
- Granulated sugar: Keep it separate for each component rather than trying to measure one big batch.
- Large eggs: Room temperature eggs incorporate more smoothly into batters and custards.
- Vanilla extract: A small amount goes far; real vanilla beats imitation every single time.
- All-purpose flour: Don't sift unless your flour is clumpy; it can overwork the brownie batter and make them tough.
- Cream cheese: Let it soften at room temperature for at least an hour before beating, or you'll end up with lumps you can't smooth out.
- Lemon juice and zest: Fresh lemon is non-negotiable here; bottled juice tastes hollow and flat.
- Digestive biscuits or graham crackers: The crust needs a little sweetness and butter to hold together; finely crush them by hand so the texture stays varied.
- Ready-rolled shortcrust pastry: A real time-saver that works beautifully for mini tartlets without any shame.
- Whole milk: Full-fat milk creates a custard with body; skim will feel watery and thin.
- Cornstarch: This is what thickens your custard; skip it and your tartlet filling will weep.
- Assorted fresh berries: Whatever looks bright at the market—mix colors for visual drama.
Tired of Takeout? 🥡
Get 10 meals you can make faster than delivery arrives. Seriously.
One email. No spam. Unsubscribe anytime.
Instructions
- Set your stage:
- Preheat the oven to 180°C (350°F) and grease your mini muffin tins or line them with paper cases. Having everything ready means you won't be hunting for tins mid-batter.
- Melt chocolate and butter together:
- Use a heatproof bowl over simmering water or the microwave in 20-second bursts, stirring between each one. Watch the chocolate closely so it doesn't seize into a grainy mess.
- Build the brownie batter:
- Whisk sugar, eggs, and vanilla into the melted chocolate, then gently fold in flour and salt until just barely combined. The moment the flour disappears is the moment to stop stirring, or your brownies will be cakey instead of fudgy.
- Fill and bake the brownies:
- Spoon batter into 8 mini cups and bake for 12–15 minutes—they should jiggle slightly in the center when you shake the tin. Let them cool in the tin before turning out, or they'll crumble.
- Create the cheesecake base:
- Mix crushed biscuits with melted butter and press firmly into 8 mini cups using the back of a spoon. A little tamping creates a crust that won't be too crumbly when you bite into it.
- Prepare the cheesecake filling:
- Beat softened cream cheese and sugar until completely smooth, then add the egg, lemon juice, zest, and vanilla, mixing only until combined. Over-mixing introduces air bubbles that crack the tops during baking.
- Bake and chill the cheesecakes:
- Spoon filling over crusts and bake for 12–15 minutes until the centers barely jiggle, then cool completely before refrigerating for at least an hour. The chilling sets them properly so they hold together when you pop them out.
- Prepare the tartlet shells:
- Cut shortcrust pastry into 8 circles and press gently into mini tartlet tins, then prick the bases with a fork to prevent puffing. Bake for 10–12 minutes until golden, then let cool on a wire rack.
- Cook the custard filling:
- Whisk milk, egg yolk, sugar, cornstarch, and vanilla in a saucepan over medium heat, stirring constantly until it thickens and coats the back of a spoon. Remove from heat immediately once it reaches that point, or it can curdle.
- Fill and finish the tartlets:
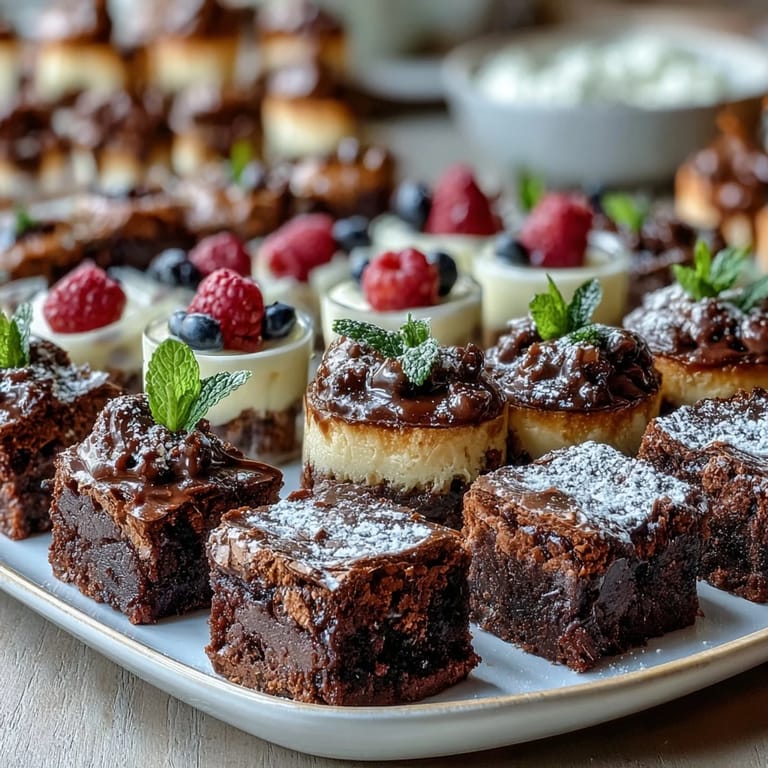
- Spoon cooled custard into cooled shells, then crown each one with a handful of fresh berries arranged however makes you smile. Arrange all three types on a tiered stand or platter, garnishing with fresh mint if you have it.
 Save
Save What struck me most was the silence that fell over the kitchen as I arranged those little desserts. Each one sat perfectly on the tiered stand—dark glossy brownies, pale creamy cheesecakes with their golden crusts, tartlets jeweled with berries. It felt less like preparing food and more like building something that would spark a moment of genuine delight for everyone who encountered it.
Building Your Dessert Bar Strategy
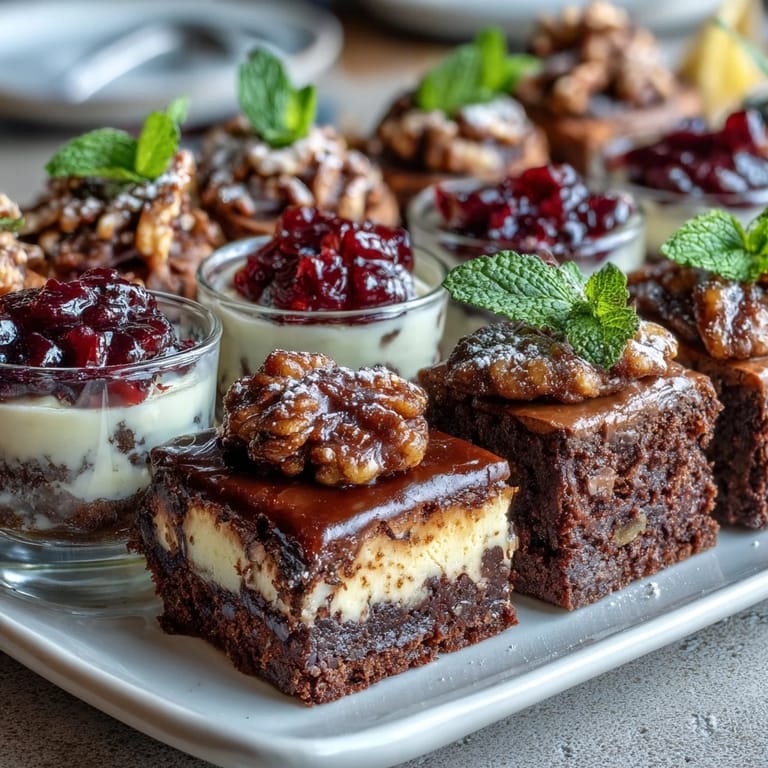
The magic of a dessert bar isn't complexity—it's the freedom to move through different flavors and textures without commitment. Arrange your three desserts in odd-numbered groups or scattered across the stand rather than in rigid lines. Let the colors speak: deep chocolate, pale cream, and ruby-red berries naturally guide the eye and make the whole thing look effortless. People will assume you spent hours styling when really you just let the desserts be themselves.
Timing and Make-Ahead Magic
The beauty of planning three mini desserts is that you can stagger your baking across two days without anyone knowing. Brownie bites stay fresh in an airtight container for three days; cheesecakes can be baked a full day ahead and refrigerated; tartlet shells keep for two days in a sealed container and can be filled with custard up to four hours before serving. The only thing you'll make right before guests arrive is the berry topping, and that takes two minutes.
Seasonal Swaps and Personal Touches
This dessert bar begs for customization, and seasonal swaps make it feel fresher each time you make it. Summer calls for mixed berries; winter might see pomegranate seeds or candied orange peel on the tartlets; spring feels right with fresh mint tucked between desserts. A light drizzle of melted white chocolate, a dust of cocoa powder, or a dab of whipped cream transforms each element without adding real complexity. The framework stays the same while you play with what the season offers.
- Try adding a tablespoon of espresso powder to the brownie batter for a sophisticated chocolate-coffee note.
- Swap the lemon cheesecake for a lime version or even a strawberry variation if citrus isn't calling to you.
- Pair your dessert bar with sparkling wine or a sweet dessert wine to elevate the whole moment.
 Save
Save A dessert bar is less about impressing people and more about celebrating the fact that you cared enough to offer them choices. That's the real gift—not perfection, but abundance and thoughtfulness arranged where everyone can see it.
Recipe Questions & Answers
- → Can I prepare the mini treats in advance?
Yes, most components, such as the brownie bites and cheesecake cups, can be baked ahead and refrigerated until serving.
- → What is the best way to store the dessert bar?
Keep the mini treats covered in the fridge and assemble shortly before serving to maintain freshness.
- → Are substitutions possible for the crust in the lemon cups?
Absolutely, crushed graham crackers or digestive biscuits work well and can be adapted to suit taste preferences.
- → Can I use seasonal fruits for the tartlets?
Yes, swapping in seasonal berries or fruits allows for delicious variation and enhances freshness.
- → Is this dessert bar suitable for vegetarian diets?
Yes, it contains dairy and eggs but omits meat and fish, fitting vegetarian guidelines.