 Save
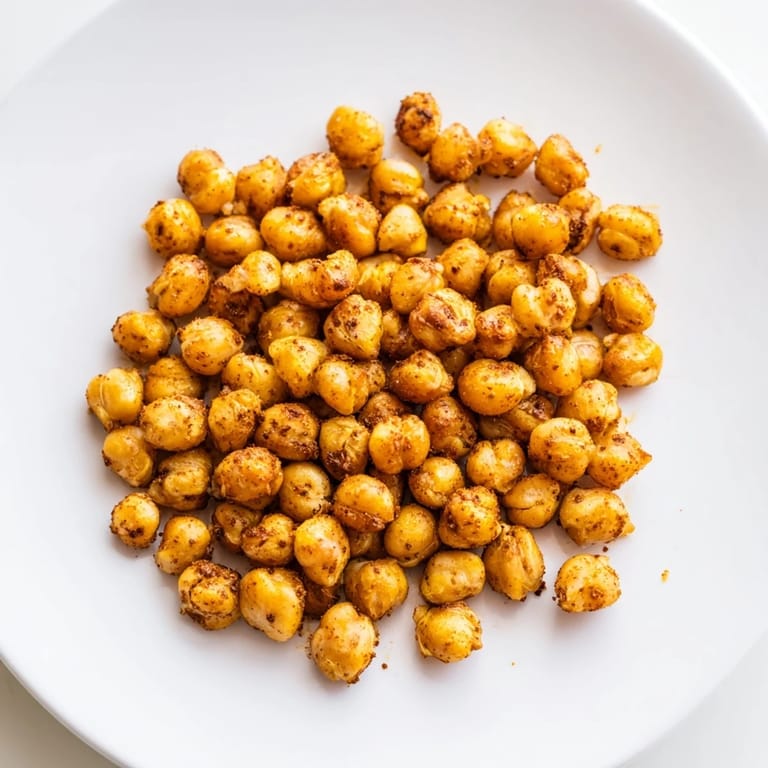
Save I discovered crispy chickpeas by accident one afternoon when I was rummaging through my pantry looking for a snack and found a forgotten can of chickpeas staring back at me. Instead of opening another bag of chips, I decided to see what would happen if I roasted them with a few spices I had lying around. Twenty minutes later, my kitchen smelled incredible, and I had something crunchy, salty, and completely addictive in my hands. It became my go-to snack almost immediately, especially when I wanted something that felt indulgent but actually nourished my body.
I brought a batch to a potluck last summer, tucked into a small jar because I wasn't sure anyone would actually eat roasted chickpeas, and they were gone within twenty minutes. A friend I hadn't seen in years grabbed a handful and said, "Wait, these are actually incredible. Are you making these again?" That moment made me realize this humble snack had something special—it wasn't flashy, but it was real and delicious.
Ingredients
- Chickpeas: One can (400 g), drained and rinsed thoroughly until the water runs clear—this step is non-negotiable for crispy results.
- Olive oil: 2 tablespoons that coat every chickpea evenly, helping them crisp up beautifully in the oven.
- Sea salt: 1/2 teaspoon, because it dissolves better than table salt and doesn't leave gritty spots.
- Smoked paprika: 1/2 teaspoon for a warm, slightly smoky depth that makes you feel like you're sitting by a fire.
- Ground cumin: 1/2 teaspoon that brings an earthy, slightly warm note to the whole batch.
- Garlic powder: 1/4 teaspoon for savory umami without any fresh garlic overpowering things.
- Black pepper: 1/4 teaspoon for a gentle bite that lingers.
- Cayenne pepper (optional): 1/4 teaspoon if you want heat that builds as you munch.
- Nutritional yeast (optional): 1 tablespoon if you're craving something cheesy and umami-forward.
Tired of Takeout? 🥡
Get 10 meals you can make faster than delivery arrives. Seriously.
One email. No spam. Unsubscribe anytime.
Instructions
- Heat your oven and prep your workspace:
- Preheat to 200°C (400°F) and line a baking sheet with parchment paper so cleanup is effortless and nothing sticks.
- Dry those chickpeas thoroughly:
- Pat them completely dry with a clean kitchen towel—moisture is the enemy of crispiness, so don't rush this step. The drier they are, the crunchier they'll become.
- Coat everything in seasoning:
- In a large bowl, toss the chickpeas with olive oil and all your spices until every single one is coated. This is when your kitchen starts smelling absolutely magical.
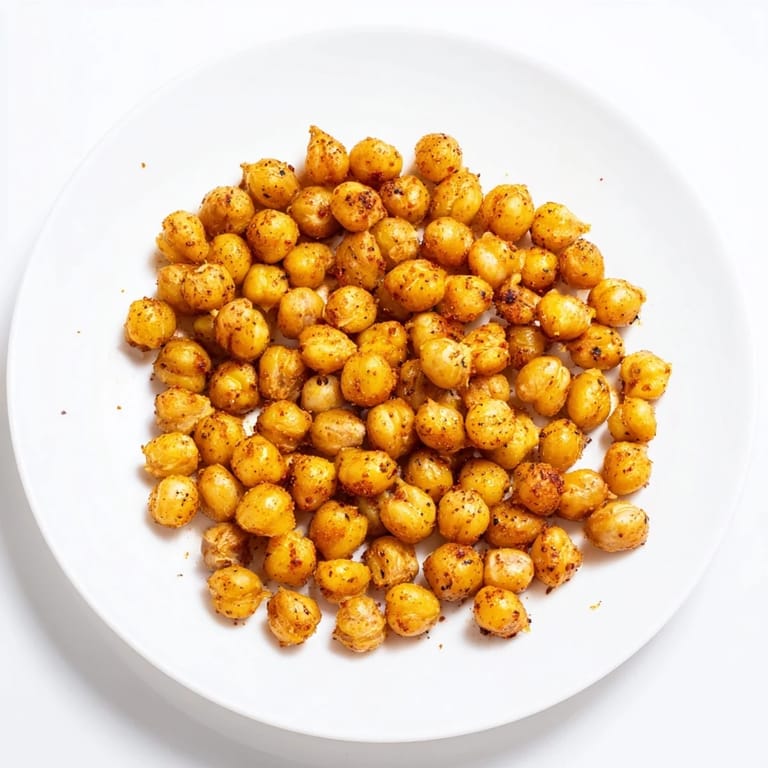
- Spread them out and roast:
- Arrange chickpeas in a single layer on the baking sheet and pop them into the oven for 35 minutes, stirring or shaking the pan every 10 minutes so they crisp evenly.
- Cool and enjoy the crunch:
- Remove from the oven when they're golden and crunchy, then let them cool for a few minutes—they'll crisp up even more as they cool down completely.
 Save
Save One quiet morning, I was eating these while working at my kitchen table, and I realized I'd finished an entire bowl without noticing. That's when I knew this recipe had become more than just a snack—it was something I could lean on when I wanted real nourishment without thinking about it too hard.
Flavor Variations to Try
Once you've mastered the basic roasted chickpea, the possibilities open up in ways that keep this snack from ever feeling boring. I've experimented with curry powder for an Indian-inspired version, Italian herbs mixed with lemon zest for something Mediterranean, and a chili-lime combination that tastes like it came from a street vendor. Each variation feels completely different, so you can rotate through them depending on your mood or what you have in the cupboard.
Storage and Keeping Things Fresh
The best part about making a batch is that it keeps for up to three days in an airtight container at room temperature, which means you have grab-and-go snacking ready whenever hunger strikes. I've learned that storing them completely cool before sealing the container helps them stay crunchier longer, since any trapped steam will soften them over time. If they ever do get a bit soft, you can revive them by spreading them on a baking sheet and warming them in a 180°C oven for five minutes.
Ways to Use Them Beyond Snacking
These chickpeas aren't just for mindless munching—they've become my secret weapon in the kitchen for adding texture and protein to dishes I thought I already had down. I scatter them over salads to replace croutons, toss them into grain bowls for extra crunch and substance, and even use them as a salad topper when I want something that feels more substantial than just greens. They also make an appearance in my lunch boxes when I'm looking for something that travels well and keeps me satisfied through the afternoon.
- Sprinkle them over salads, soups, or roasted vegetables for instant crunch and plant-based protein.
- Mix them into grain bowls with quinoa, roasted veggies, and tahini dressing for a complete meal.
- Keep a small jar at your desk or in your bag for whenever you need a satisfying snack that doesn't require refrigeration.
 Save
Save This simple roasted chickpea recipe taught me that the best snacks are often the ones you make yourself with intention and a few pantry staples. There's something deeply satisfying about turning a can of chickpeas into something you actually crave.
Recipe Questions & Answers
- → How do you ensure chickpeas get crispy?
Drying chickpeas thoroughly before roasting and stirring them every 10 minutes helps achieve an even, crunchy texture.
- → Can I customize the seasoning?
Absolutely, try curry powder, Italian herbs, or chili lime to vary the flavor.
- → How long can the snack be stored?
When cooled completely and stored in an airtight container, roasted chickpeas stay fresh at room temperature up to 3 days.
- → What dishes pair well with these chickpeas?
They enhance salads, grain bowls, or can be enjoyed on their own as a crunchy snack.
- → Are these chickpeas suitable for special diets?
Yes, this preparation is vegan, gluten-free, and high in protein, fitting various dietary needs.