 Save
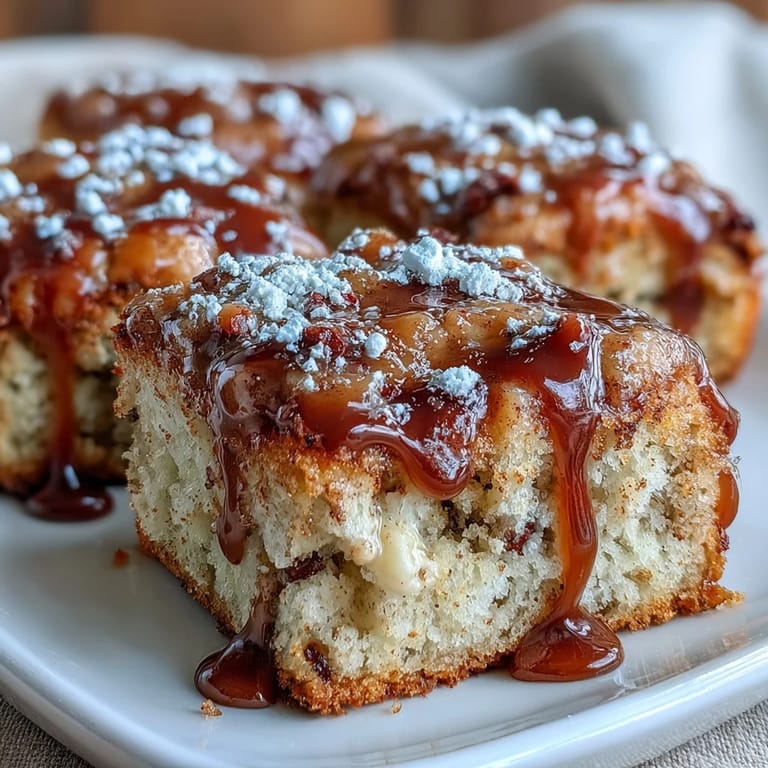
Save Last Sunday morning, my kitchen filled with that unmistakable maple aroma before my feet even hit the floor. My teenage son had decided to surprise everyone with breakfast, and these maple donut bars were his ambitious experiment. I walked in to find flour dusted across the counters like fresh snowfall and him proudly holding a still warm pan. They werent perfect—slightly uneven glaze, a few too thick—but the pride in his eyes made them the best thing Id ever tasted. Now theyre his signature contribution to family breakfasts.
My neighbor Sarah stopped by during that first experimental batch, drawn in by the maple scent wafting through open windows. She ended up staying for coffee and bars, and we spent two hours at the kitchen table watching summer rain fall outside. Now whenever she smells maple, she texts me asking if the bars are making an appearance. Theres something about sharing warm, maple glazed anything that turns strangers into friends.
Ingredients
- 2 cups all-purpose flour: The foundation that gives these bars their tender cake like crumb and structure
- 1 cup granulated sugar: Creates sweetness and helps achieve that signature donut texture we all love
- 1 tablespoon baking powder: Essential for the fluffy lift that makes these feel like real donuts
- 1/2 teaspoon salt: Balances the sweetness and lets the maple flavor really shine through
- 1/2 teaspoon ground cinnamon: Adds warm depth that pairs beautifully with maple
- 1/4 teaspoon ground nutmeg: The secret ingredient that gives these their classic donut shop flavor
- 1/2 cup unsalted butter, melted: Creates richness and moisture throughout every bite
- 1 cup whole milk: Ive tried lower fat options but whole milk makes these bars incredibly tender
- 2 large eggs: Binds everything together while contributing to the light fluffy texture
- 1 teaspoon vanilla extract: Rounds out the flavors and adds that comforting bakery aroma
- 1/2 cup maple syrup: The real stuff makes a difference here—look for pure maple syrup
- 1 cup powdered sugar: Creates the silky smooth base for that irresistible glaze
- 1–2 tablespoons milk: Adjust this to get your glaze exactly how thick or thin you like it
- 2 tablespoons maple syrup: Infuses the glaze with authentic maple flavor that sets these apart
Tired of Takeout? 🥡
Get 10 meals you can make faster than delivery arrives. Seriously.
One email. No spam. Unsubscribe anytime.
Instructions
- Get your oven ready:
- Preheat to 350°F and grease a 9×13 inch pan, or line it with parchment paper for easy removal later
- Whisk the dry ingredients:
- In a large bowl, combine flour, sugar, baking powder, salt, cinnamon, and nutmeg until well blended
- Mix the wet ingredients:
- In a separate bowl, whisk melted butter, milk, eggs, vanilla, and maple syrup until completely smooth
- Bring it together:
- Pour the wet mixture into the dry ingredients and fold gently with a spatula until just combined—overmixing makes tough bars
- Spread and bake:
- Evenly spread the batter in your prepared pan and bake for 25 to 30 minutes until golden and a toothpick comes out clean
- Cool completely:
- Let the bars rest in the pan for 10 minutes, then move them to a wire rack to cool fully before glazing
- Make the maple glaze:
- Whisk powdered sugar with 1 tablespoon milk until smooth, then stir in the maple syrup
- Add more milk if needed:
- The glaze should be thick but pourable—add that second tablespoon of milk only if it seems too stiff
- Glaze the bars:
- Once the bars are completely cool, drizzle the maple glaze evenly across the top
- Finish and slice:
- Let the glaze set for 10 to 15 minutes, then cut into bars and serve
 Save
Save These bars have become our go to for sleepover breakfasts and bake sales alike. Last fall, my daughter brought them to her school harvest festival and came home with an empty pan and three requests for the recipe. Theres something universally comforting about maple and donut flavors together that makes people feel at home.
Getting The Texture Just Right
The key to that authentic donut texture is not overworking the batter. I used to treat these like cake, mixing until perfectly smooth, but they came out dense and bread-like. Now I stop mixing as soon as the flour streaks disappear, even if tiny lumps remain. Those lumps bake out, leaving you with incredibly light, fluffy bars that really do taste like fried donuts without all the mess and oil.
Storage And Freshness
These bars actually taste better on day two, once the maple glaze has had time to soak slightly into the crumb. Store them in an airtight container at room temperature for up to three days—the glaze stays perfectly glossy and the texture remains tender. They also freeze beautifully wrapped individually for those mornings when you need something special but have zero time to bake.
Serving Suggestions That Wow
While these are perfect on their own, a little extra effort makes them feel truly special. I love serving them alongside a steaming mug of coffee or cold milk on weekend mornings when time feels slower. For breakfast gatherings, arrange them on a wooden board with fresh berries and maybe some whipped cream on the side.
- A pinch of sea salt on top of the wet glaze creates an amazing sweet salty contrast
- Warm leftover bars for 10 seconds in the microwave to revive that fresh baked taste
- Stack them in a clear treat box tied with twine for an effortless homemade gift
 Save
Save Whether youre making them for a crowd or just treating yourself on a quiet morning, these maple donut bars have a way of making any day feel a little more special.
Recipe Questions & Answers
- → Can I make these bars ahead of time?
Yes, these bars store beautifully in an airtight container at room temperature for up to 3 days. The glaze stays fresh and the texture remains soft. You can also freeze unglazed bars for up to 2 months and add the glaze after thawing.
- → What's the best way to get the glaze consistency right?
Start with 1 tablespoon of milk in the powdered sugar, then add more as needed. The ideal glaze should be thick enough to hold its shape when drizzled but thin enough to pour smoothly from your spoon. Adding the maple syrup helps achieve that perfect balance.
- → Can I substitute the maple syrup?
While maple syrup provides the signature flavor, you can use honey as a 1:1 substitute in the batter. For the glaze, honey works but will alter the taste profile. Maple extract can enhance the flavor if using alternatives.
- → Why shouldn't I overmix the batter?
Overmixing develops gluten in the flour, making the bars tough and dense instead of soft and tender. Gently folding until just combined ensures that delicate, cake-like texture you want in these bars.
- → Can I use a different pan size?
A 9×13 inch pan yields the ideal thickness. Using an 8×8 inch pan will make thicker bars that require longer baking time. A larger pan like 11×15 will create thinner bars that may need less time in the oven.
- → How do I know when the bars are done baking?
Insert a toothpick into the center—if it comes out clean or with just a few moist crumbs, they're ready. The edges should be lightly golden brown, and the top should spring back when gently pressed.