 Save
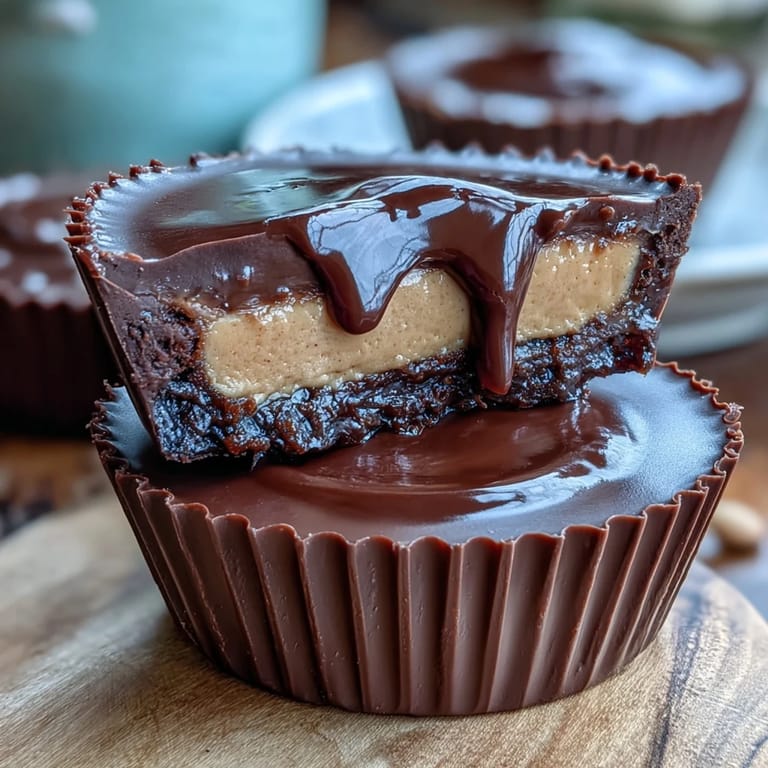
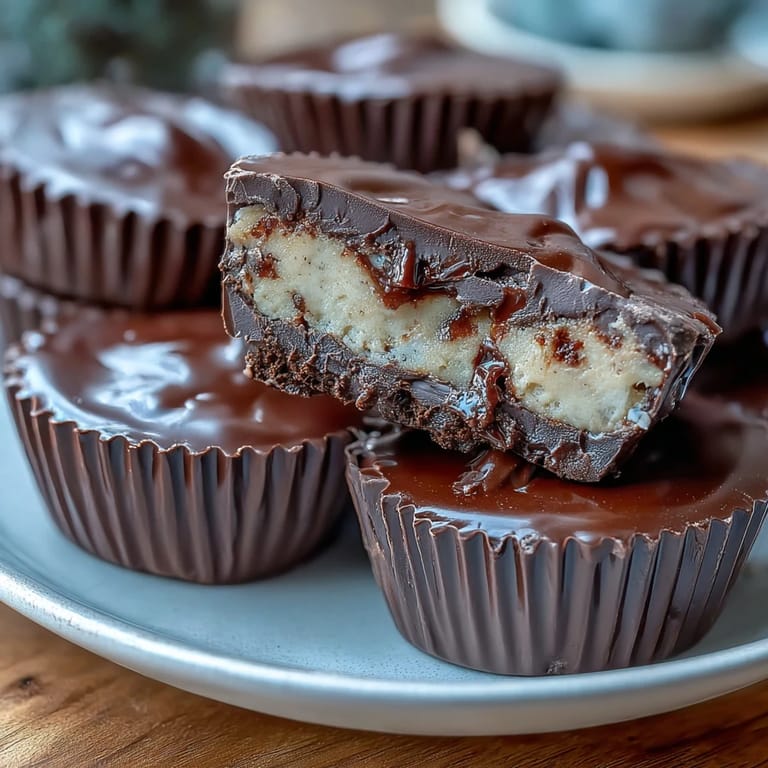
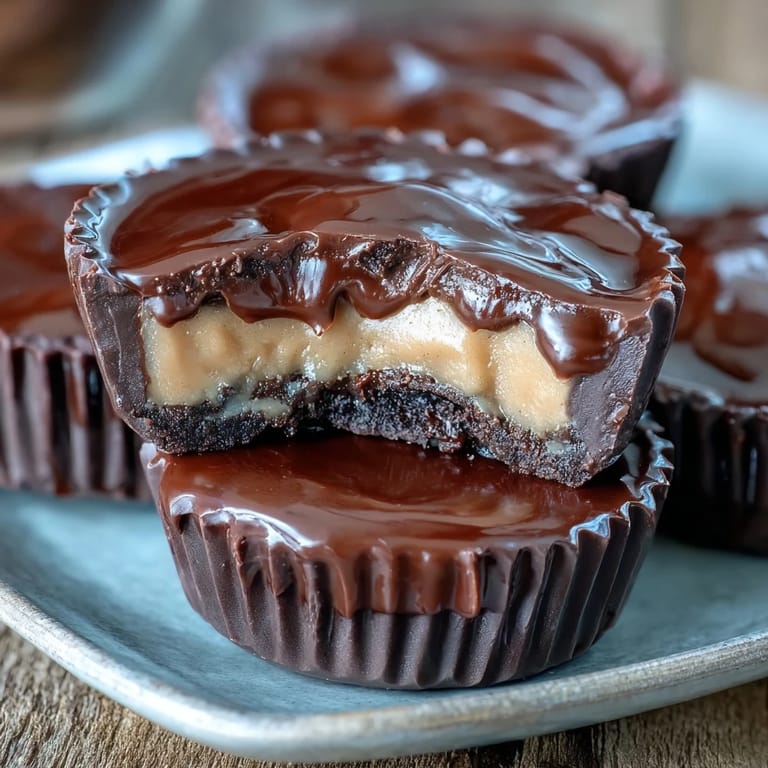
Save My kitchen smelled like a candy factory the afternoon I decided homemade Reese's cups were worth the effort. My partner wandered in asking what I was making, and when I said peanut butter cups, they laughed—surely that's a store-bought thing? But there's something magical about watching dark chocolate melt into silk and then layering it with a peanut butter filling so creamy it barely holds its shape. These cups taste like the ones we grew up with, except better, because they're made in your own kitchen with ingredients you actually recognize.
I made a batch for my book club last month, and someone actually set down their wine to ask for the recipe. That moment when a homemade dessert stops people mid-conversation is exactly why I keep making these. Now they request them whenever we gather, which is both flattering and slightly terrifying because I can never make them exactly the same twice—but somehow that's what keeps people coming back.
Ingredients
- Dark chocolate, 250 g (70% cocoa or higher), chopped: This is where the magic starts—higher cocoa percentages create a sophisticated bitterness that balances the sweet peanut butter filling beautifully.
- Coconut oil, 1 tbsp (optional): A tiny amount makes the chocolate thinner and smoother when melted, so it coats without pooling, though you can skip it if you prefer a thicker shell.
- Creamy peanut butter, 120 g, unsweetened and unsalted: This is non-negotiable for control over the final sweetness—the powdered sugar does the sweetening, letting the peanut flavor shine through.
- Unsalted butter, 2 tbsp, softened: Softened is key because it creams in without temperature shock, creating that luxurious melt-in-your-mouth texture.
- Powdered sugar, 60 g, sifted: Sifting prevents lumps that would make the filling grainy instead of silky smooth.
- Fine sea salt, ¼ tsp: This tiny pinch is a secret weapon that amplifies the peanut flavor and makes people wonder why store-bought versions taste flat by comparison.
- Vanilla extract, ½ tsp: Just enough to round out the flavors without screaming vanilla—think of it as a background note that ties everything together.
Tired of Takeout? 🥡
Get 10 meals you can make faster than delivery arrives. Seriously.
One email. No spam. Unsubscribe anytime.
Instructions
- Prepare your stage:
- Line your mini muffin tin with paper liners—these prevent sticking and make handling the finished cups effortless. Take a moment to make sure they sit flat, because a tilted liner creates lopsided cups.
- Melt the chocolate with intention:
- Use a heatproof bowl over simmering water, or microwave in 15-second bursts if you prefer. Either way, patience matters here—rushed melting creates seized chocolate that's grainy instead of glossy and beautiful.
- Create the chocolate base layer:
- Spoon about a teaspoon of melted chocolate into each liner and use the back of the spoon to nudge it up the sides slightly. This creates a cup shape that will cradle the filling without leaking through.
- Chill for the first set:
- Ten minutes in the freezer firms up the chocolate just enough that it won't mix with the peanut butter filling when you add it. Don't skip this step or the layers blur together.
- Mix the peanut butter filling:
- Combine softened butter, peanut butter, sifted powdered sugar, salt, and vanilla in a bowl and stir until smooth and thick. The mixture should feel like frosting—thick enough to hold its shape but spreadable enough to press into place.
- Layer in the filling:
- Roll a teaspoon of peanut butter mixture into a small ball, flatten it slightly with your fingers, and place it onto each chocolate base. Press gently to create an even layer, leaving a tiny border so the final chocolate layer has something to grip to.
- Seal with the final chocolate layer:
- Spoon the remaining melted chocolate over the peanut butter, letting it flow to the edges. A gentle tap on the counter smooths the tops and releases any air bubbles.
- Final chill and release:
- Give them at least 30 minutes in the refrigerator until completely set and firm to the touch. Once chilled, they pop out of the liners cleanly and are ready to eat or store.
 Save
Save My niece once asked why homemade tasted better than the candy aisle version, and I realized it wasn't just the ingredients—it was watching something transform from separate components into something whole and delicious. These cups carry that moment every time I make them.
The Chocolate Choice Matters
I used to grab whatever dark chocolate was on sale, and the results were unpredictable—sometimes grainy, sometimes dull. Then I started actually tasting the chocolate before melting it, and everything changed. A 70% cocoa chocolate with smooth, clean cocoa flavor transforms into a elegant shell that tastes sophisticated instead of overly sweet. If you can find a chocolate you'd genuinely enjoy eating on its own, that's the one to use here.
Why Temperature Control Saves Your Cups
The first time I made these, I melted the chocolate too hot and it practically burned the peanut butter filling when I poured it over. Now I let it cool slightly until it coats a spoon and drips off slowly—that's the signal it's ready. Too-hot chocolate also dries out quickly, creating a brittle shell instead of a snap, so even when melting, gentle heat wins every single time.
Customization and Storage Secrets
Once you nail the basic version, these cups become a canvas for creativity. I've experimented with everything from crunchy peanut butter to a sprinkle of sea salt on top before the final chill, and every version has worked beautifully. Stored in an airtight container in the refrigerator, they last about a week, though in my house they rarely make it past day three.
- Try toasting a few crushed pretzels into the peanut butter filling for a sweet-salty crunch that's absolutely addictive.
- A tiny sprinkle of fleur de sel on top of the peanut butter layer before sealing with chocolate creates an elegant flavor contrast.
- Keep them chilled and they'll hold their shape perfectly, but let them sit out for five minutes before eating so the chocolate softens and melts on your tongue.
 Save
Save These homemade cups taste like care and intention, which is exactly what makes them worth the small effort. Offer them to someone you love, and watch their face light up when they realize they're tasting homemade.
Recipe Questions & Answers
- → What type of chocolate works best?
Use dark chocolate with 70% cocoa or higher to achieve a rich, smooth coating that balances the sweet filling.
- → How do I achieve a smooth peanut butter filling?
Mix creamy peanut butter with softened butter, powdered sugar, vanilla, and salt until smooth and thick for a perfectly creamy texture.
- → Can I make dairy-free versions?
Yes, substitute dairy-free butter and ensure the chocolate is dairy-free to create vegan-friendly cups.
- → What is the best way to set the cups?
Chill the layered cups in the refrigerator for at least 30 minutes to fully set the chocolate and filling.
- → How should these be stored?
Store in an airtight container in the refrigerator for up to one week to maintain freshness and texture.