 Save
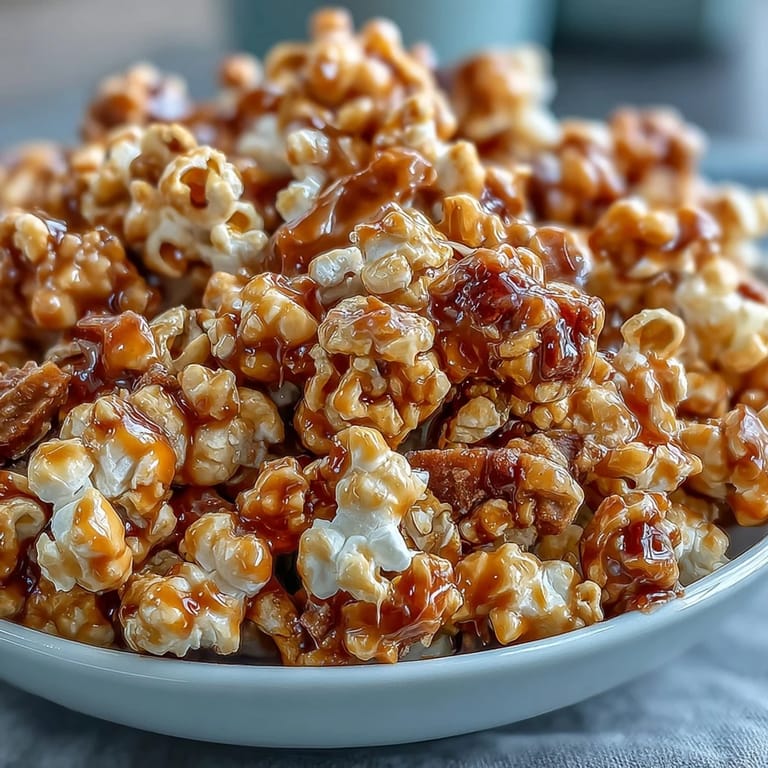
Save My cousin showed up at my apartment with a bag of this stuff last October, and I couldn't stop eating it straight from the container while we watched some terrible reality show. The caramel had this perfect salty-sweet snap, the popcorn was still somehow crispy despite being coated, and those little bursts of candy color kept surprising my mouth. I demanded the recipe right then, and when I finally made it myself, I realized how stupidly simple it actually was—just a few minutes of attention and suddenly my kitchen smelled like a carnival.
I made this for a game night with friends who'd been ragging on me for only ever bringing store-bought snacks. Watching people's faces light up when they realized I'd actually made something that tasted better than the packaged stuff was oddly satisfying. One friend went back for thirds and kept saying it tasted like childhood, which I think was the highest compliment anyone's ever given my cooking.
Ingredients
- Popcorn kernels: Fresh-popped tastes leagues better than stale stuff, so pop your own if you can tolerate a few unpopped kernels scattered around.
- Unsalted butter: This lets you control the salt level, which is crucial since you're adding more later.
- Light brown sugar: Don't use dark brown sugar here—the molasses will overpower everything and make it taste less like carnival candy.
- Light corn syrup: This keeps the caramel from crystallizing, and it's non-negotiable if you want that smooth, glossy finish.
- Salt: Sounds weird to add salt to candy, but it's the secret weapon that makes every flavor pop.
- Baking soda: This is what makes the mixture bubble up and creates tiny air pockets that make the popcorn extra crispy—don't skip it or omit it.
- Pure vanilla extract: Real vanilla matters here since it's one of the few flavor notes, so don't reach for imitation.
- Dried apple rings: Chop these into smaller pieces so you actually get a piece in every handful; the tartness cuts through all that sweetness.
- Candy-coated chocolate pieces: M&Ms work perfectly, but you could use regular chocolate chips if you prefer—just add them after everything cools so they don't melt.
- Salted peanuts: These add protein and crunch, but leave them out if you're cooking for someone with allergies.
Tired of Takeout? 🥡
Get 10 meals you can make faster than delivery arrives. Seriously.
One email. No spam. Unsubscribe anytime.
Instructions
- Get your station ready:
- Preheat that oven to 250°F and line a big baking sheet with parchment paper—trust me, cleanup is infinitely easier this way. Pop your popcorn using whatever method you prefer and toss any sad unpopped kernels that won't cooperate.
- Make the caramel magic:
- Melt the butter in a medium saucepan over medium heat, then add brown sugar, corn syrup, and salt. Stir constantly until you see it bubbling away, then stop touching it and let it boil untouched for 4 to 5 minutes—this is the hardest part because you'll want to stir, but resist.
- The bubble-up moment:
- Remove from heat and immediately stir in the baking soda and vanilla—it's going to foam up dramatically and look like it might overflow, but that's exactly what you want. This is where the magic of texture happens.
- Coat everything evenly:
- Pour that gorgeous caramel right over your popcorn and use a spatula to toss gently but thoroughly so every kernel gets kissed by the sauce. Work quickly because the caramel starts to set as it cools.
- Bake low and slow:
- Spread the coated popcorn on your prepared baking sheet and slide it into that 250°F oven for 40 minutes, stirring every 10 to 15 minutes to prevent sticking and ensure even toasting. Your kitchen will smell absolutely incredible.
- Cool and break apart:
- Let it rest for 10 minutes on the baking sheet, then break apart any large clumps with your hands or a wooden spoon. This is satisfying in a weirdly therapeutic way.
- Add the final touches:
- Once everything has cooled completely to room temperature, toss in your dried apples, candy pieces, and peanuts if using. If you add them while warm, the chocolate will melt and the apples will soften more than you want.
- Store properly:
- Transfer to an airtight container where it'll stay crispy for up to three days, though honestly it rarely lasts that long in my house.
 Save
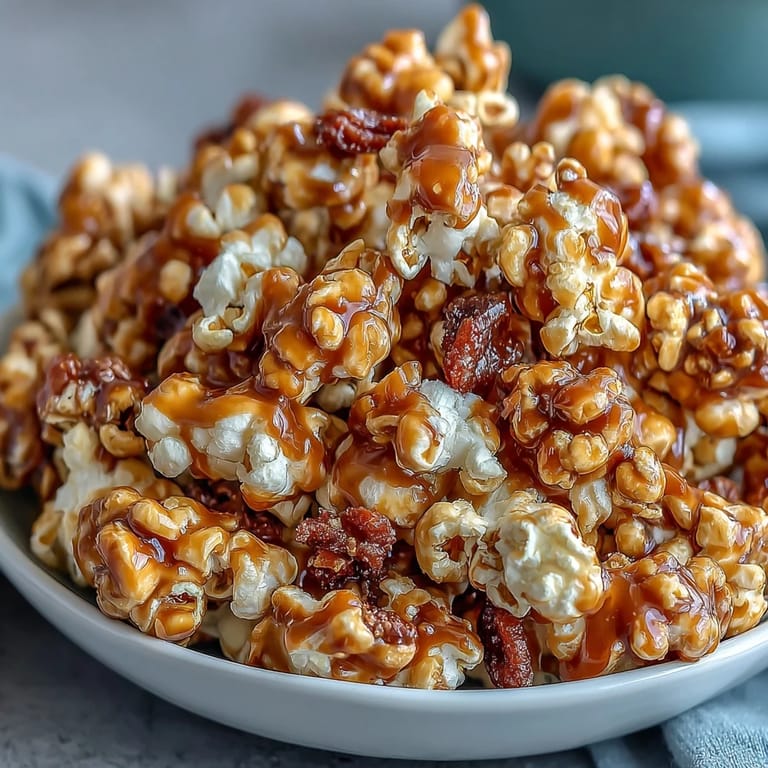
Save There's something about a homemade snack mix that changes how people see you in the kitchen. When someone asks if you made it and you say yes, there's always that moment of genuine surprise followed by immediate respect. It's silly, but this particular mix has a way of turning a regular movie night into something people actually remember and ask about later.
Flavor Combinations Worth Trying
Once you nail the basic recipe, start experimenting with different add-ins because that's where the real fun begins. I've tested dried cranberries instead of apples, pretzels mixed in for extra salt, and even a tiny pinch of cayenne pepper in the caramel for a subtle heat that nobody can quite identify. The butter and brown sugar base is so versatile that you could probably add almost any dried fruit or crunchy element and end up with something delicious.
Oven Temperature Matters More Than You Think
I made the mistake of using 300°F instead of 250°F during my first batch, thinking it would be faster, and ended up with overtoasted popcorn that tasted vaguely burnt. The low temperature is specifically designed to crisp everything evenly without scorching the outside, so don't try to speed things up. If your oven runs hot—and most do—throw an oven thermometer in there to double-check because even 25 degrees makes a difference in how the caramel browns.
Storage and Shelf Life Reality
This mix genuinely does stay good for three days in an airtight container, though it's best on day one when everything's at peak crispiness. The candy softens slightly as it sits, the apples absorb a tiny bit of moisture, and the popcorn slowly loses its snap—still delicious, but texturally different. If you're making this ahead for an event, make it the morning of for maximum impact.
- Use actual airtight containers, not bags, because humidity is the enemy of crispy popcorn.
- Keep it away from direct sunlight and warm spots in your kitchen, as heat speeds up staleness.
- If it does go a bit soft after a couple days, you can actually recrisp it in a 250°F oven for about 5 minutes—don't ask me how I know this worked.
 Save
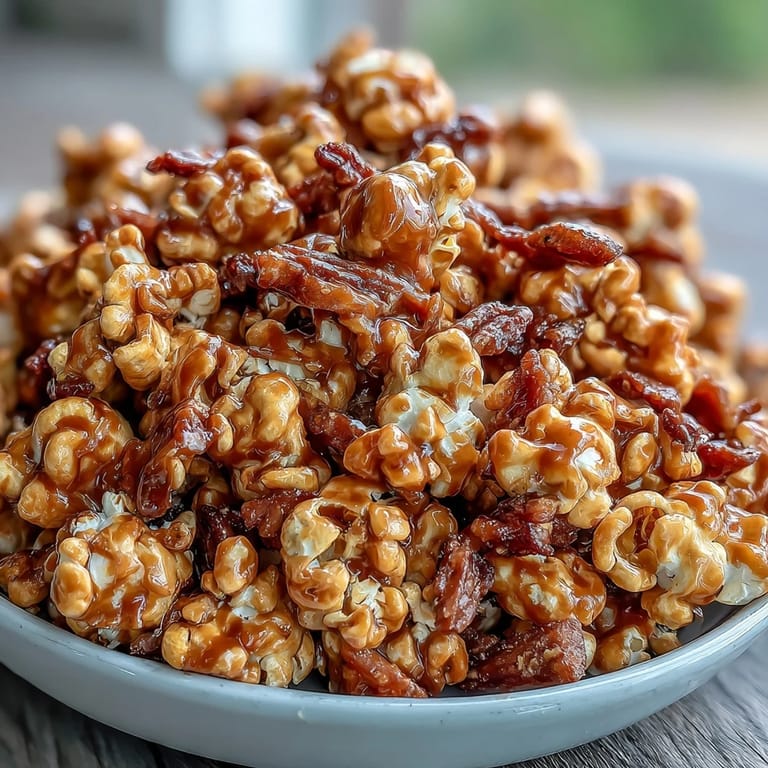
Save This recipe has somehow become my go-to when I need to feel like I've actually accomplished something in the kitchen, which is funny because it's genuinely foolproof. Give it a try at your next gathering and watch people's eyes light up the same way mine did that October afternoon.
Recipe Questions & Answers
- → How is the caramel sauce prepared?
The caramel sauce is made by melting butter and stirring in brown sugar, corn syrup, and salt. It is boiled briefly, then baking soda and vanilla extract are added to create a smooth coating.
- → Can the peanuts be omitted?
Yes, peanuts are optional and can be left out for a nut-free version without affecting the overall texture significantly.
- → What is the best way to store this mix?
Store the popcorn mix in an airtight container to maintain freshness and crunch, ideally consuming within three days.
- → How do the dried apples contribute to the mix?
Dried apples add a chewy texture and a tart-sweet flavor contrast that balances the caramel’s richness.
- → Is baking necessary after coating the popcorn?
Yes, baking the coated popcorn helps the caramel set and evenly coat all kernels, enhancing crunch and flavor.