 Save
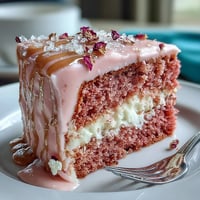
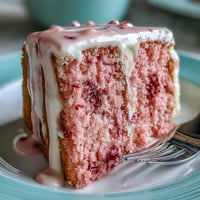
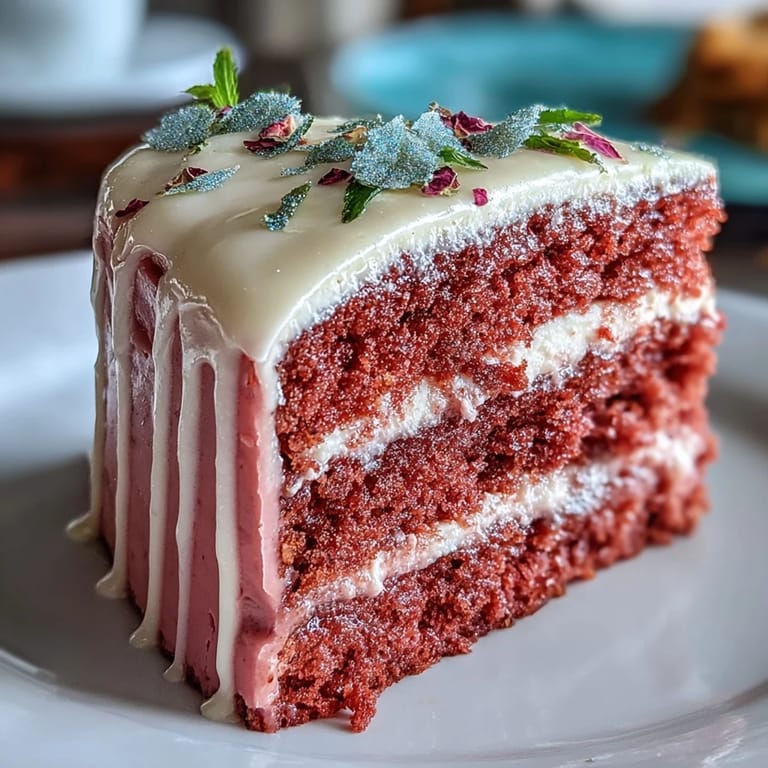
Save There’s something undeniably charming about a cake that doubles as a centerpiece, isn’t there? The moment I first spotted a Rosé Velvet Cake at a friend’s bridal shower, my eyes widened with delight at that gentle blush color. It was the perfect blend of elegant and whimsical, and I knew then that I had to try my hand at recreating this beauty in my own kitchen. The enticing scent of baked goods wafting through the air never fails to make me smile, and this cake brings that joy in abundant measure. Even the sound of the mixer whirling up the butter and sugar is music to my ears!
One afternoon, I decided to bring this cake to a cozy gathering with friends, and when the first slice was served, you could hear a delighted chorus of oohs and ahhs. Watching everyone enjoy it felt like a mini celebration in itself, with laughter filling the room as we attempted to capture the perfect photo. Those moments of sharing food and creating memories felt far more special than any social media post could convey. It wasn’t just about satisfying a sweet tooth; it was about enjoying each other’s company over a beautiful cake. That day solidified this recipe as a favorite in my repertoire.
Ingredients
- All-purpose flour: The backbone of this cake, making it tender but sturdy enough to hold layers.
- Granulated sugar: Sweetness that balances the subtle flavors of the rosé.
- Baking soda and powder: These two together help the cake rise beautifully, giving it that perfect dome.
- Unsweetened cocoa powder: Just a hint for depth, balancing the sweetness with a touch of elegance.
- Buttermilk: This ingredient ensures a moist cake with a delightful tang.
- Rosé wine: The star of the show, bringing a lovely flavor that makes it uniquely special.
- Eggs: Essential for binding it all together, adding richness to the cake.
- Pink food coloring gel: To achieve that gorgeous blush hue, give it some pop!
Tired of Takeout? 🥡
Get 10 meals you can make faster than delivery arrives. Seriously.
One email. No spam. Unsubscribe anytime.
Instructions
- Prepare for Magic:
- Preheat your oven to a cozy 350°F (175°C), and get those cake pans greased and lined so you are all set to roll.
- Whisk It Up:
- In a medium bowl, sift together the flour, cocoa powder, baking soda, baking powder, and salt; this is your dry team ready to join the party.
- Cream of the Crop:
- In a big mixing bowl, cream together the softened butter and sugar until it's fluffy and light—aim for about three minutes of whirl and twirl!
- Egg-cellent Addition:
- Add the eggs one at a time, giving each a thorough mixing before welcoming the vanilla extract into the mix.
- Mix It Up:
- Now it’s time to stir in that creamy buttermilk, inviting rosé wine and vinegar to join the fun, before gently folding in your dry ingredients.
- Rosy Hues:
- Add pink food coloring gel slowly, mixing until it’s the blush perfection that makes your heart skip a beat.
- Time to Bake:
- Divide the batter among your prepared pans and let them bake for 30-35 minutes—keep an eye out for that toothpick test!
- Cake Cooling Vibes:
- Let cakes cool in the pans for 10 minutes before flipping them onto wire racks to chill completely.
- Frosting Fun:
- Beat the butter and cream cheese until smooth, then introduce powdered sugar and the rest of the dreamy flavors until fluffy.
- Layer Up:
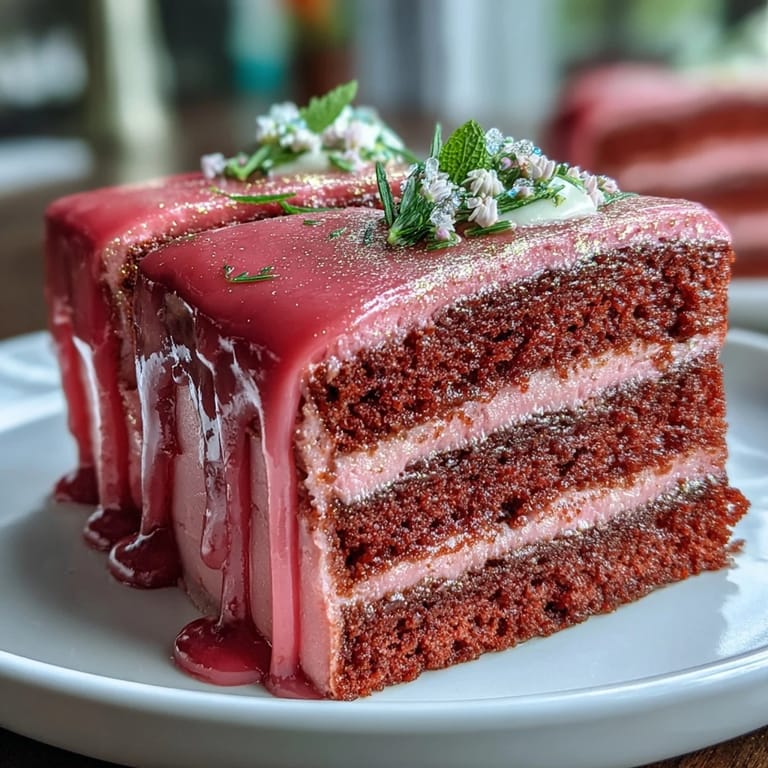
- Level off those cakes if necessary, then stack them with frosting in between—for a charmingly messy crumb coat, spread a thin layer of frosting around the outside.
- Golden Touch:
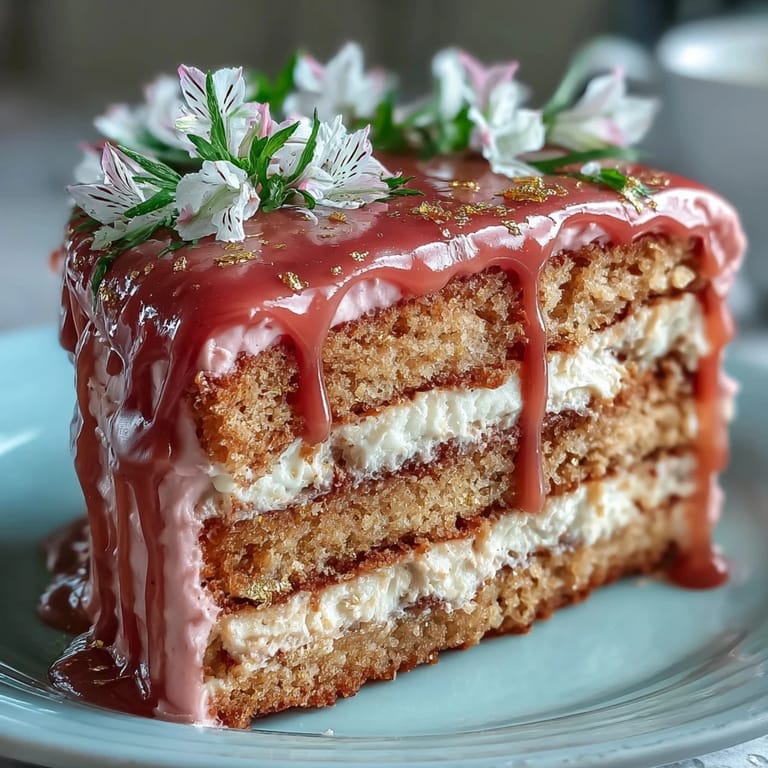
- Create your luxe gold drip by heating white chocolate and heavy cream, drizzle it over the edges for that show-stopping look.
- Final Flourish:
- Mix gold luster dust with vodka to make a shimmering paint, and gently brush it over the drip—let it sit in the chill until serving!
 Save
Save Preparing this cake ultimately became a joyful experience for me—it transformed my kitchen into a mini celebration, and I felt a true sense of pride in what I had created. As friends gathered to savor the first slices, the room filled with comments about that perfect balance of flavors and textures. It turned out to be more than just a dessert; it became a delightful chapter in my cookery story.
A Thoughtful Touch
Adding seasonal fruits or edible flowers can elevate the Rosé Velvet Cake, turning it into a visual delight that truly stands out at any celebration. Even a little extra drizzle of rosé wine over finished slices can enhance the experience!
Sharing is Caring
Sharing this cake can be as joyful as making it! The compliments and smiles that follow are pure reward for your effort.
Last Minute Tips to Shine
This cake can be made a day ahead, and the flavors meld beautifully overnight. If you're looking for a smoother frosting, try refrigerating it briefly before spreading; it makes all the difference!
- Keep a spatula handy for that crumb coat.
- If you have leftovers, chill them for an even sweeter treat the next day!
- When in doubt, a sprinkle of extra gold luster dust adds that touch of glamour.
 Save
Save Creating this Rosé Velvet Cake is not just about the dessert; it’s about bringing people together to share in delightful moments. So go ahead and bake, enjoy, and make unforgettable memories!
Recipe Questions & Answers
- → What flavors are in the cake?
The cake boasts subtle rosé notes complemented by a rich chocolate flavor from cocoa powder and a delicious creamy finish.
- → Can I make this cake in advance?
Yes, you can bake the cake layers a day ahead. Just wrap them well and store in the fridge. Frost before serving for best results.
- → Is there an alcohol-free option?
Absolutely! Substitute the rosé wine with sparkling grape juice for a delightful non-alcoholic version.
- → What should I serve with this cake?
Pair the cake with fresh berries or a light fruit salad for a refreshing contrast to the rich flavors.
- → How can I decorate this cake further?
Enhance the cake with edible flowers, gold leaf, or seasonal fresh fruits for added elegance and flair.